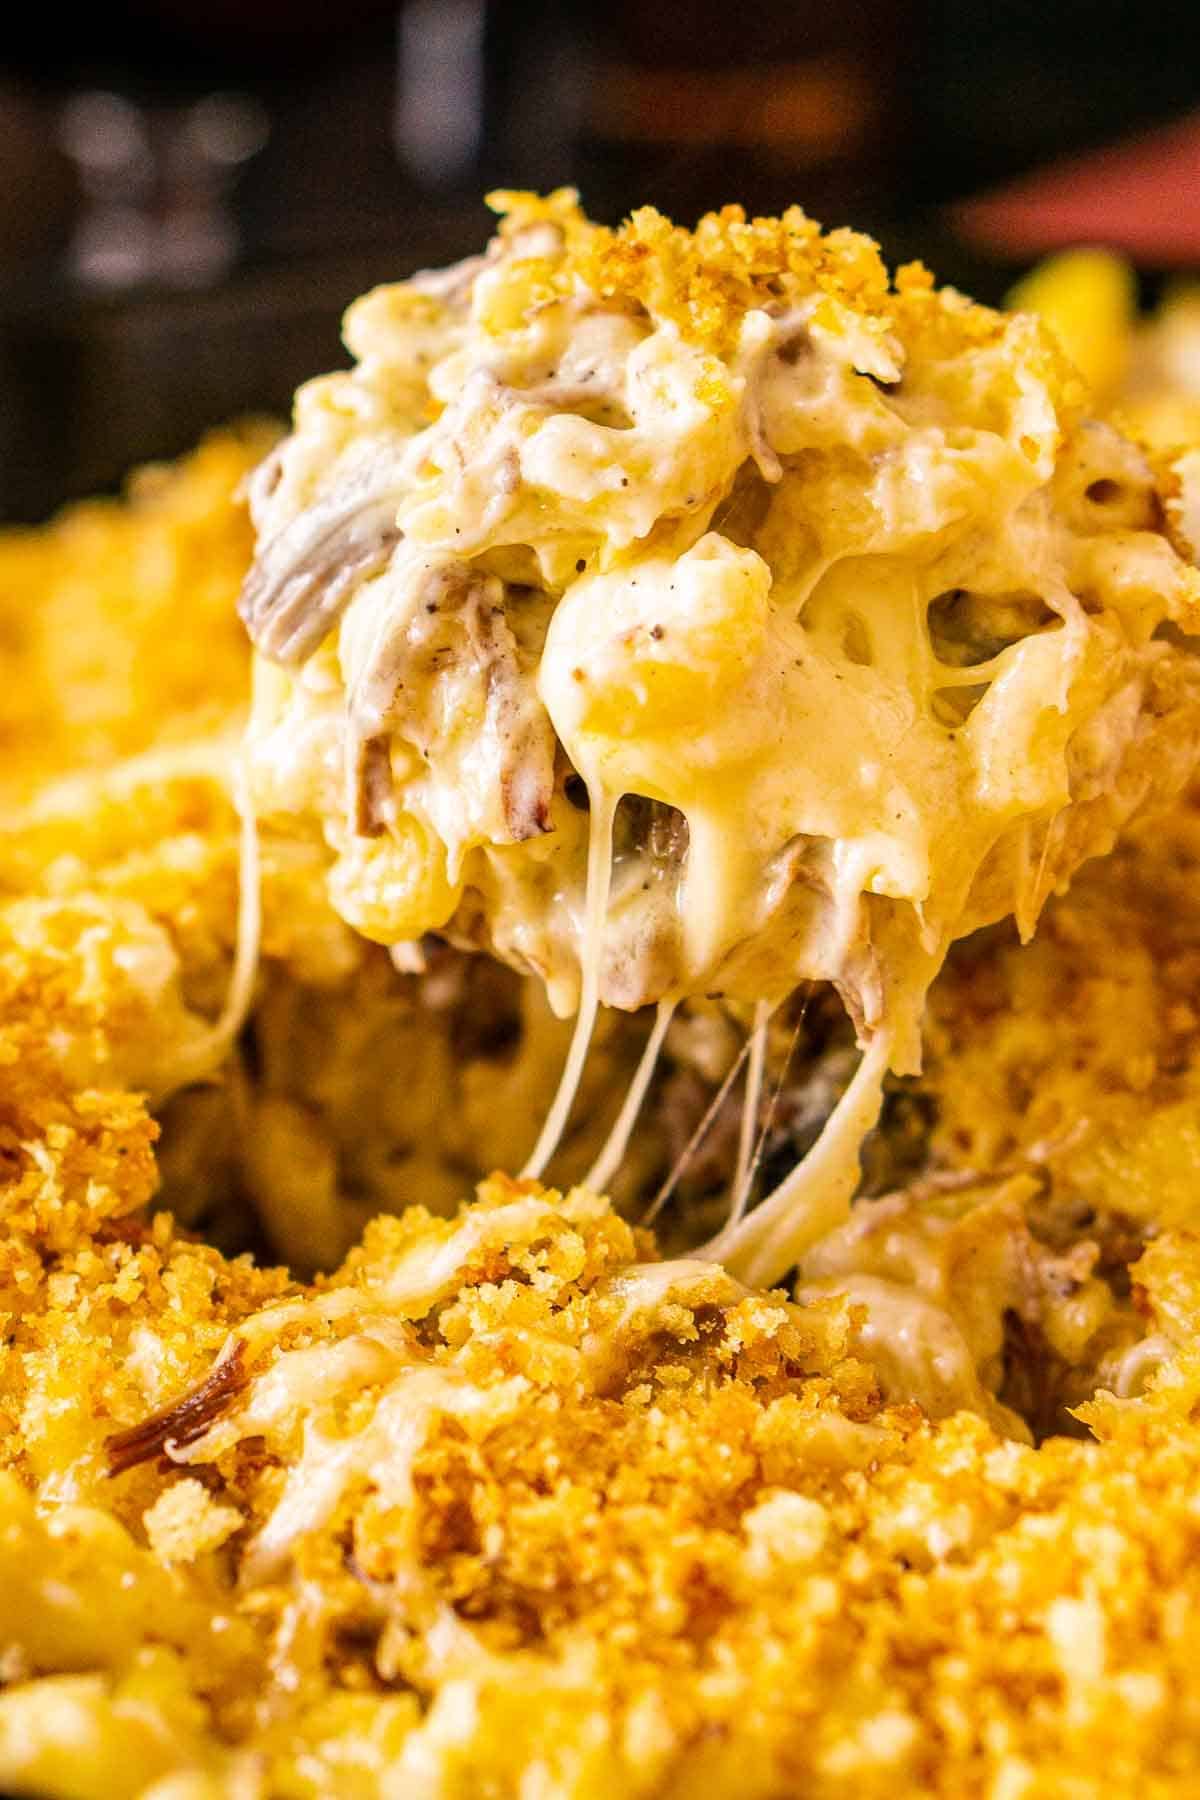
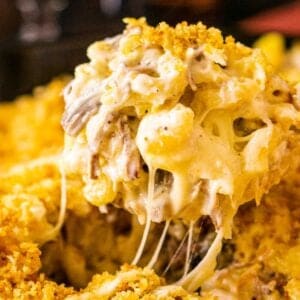
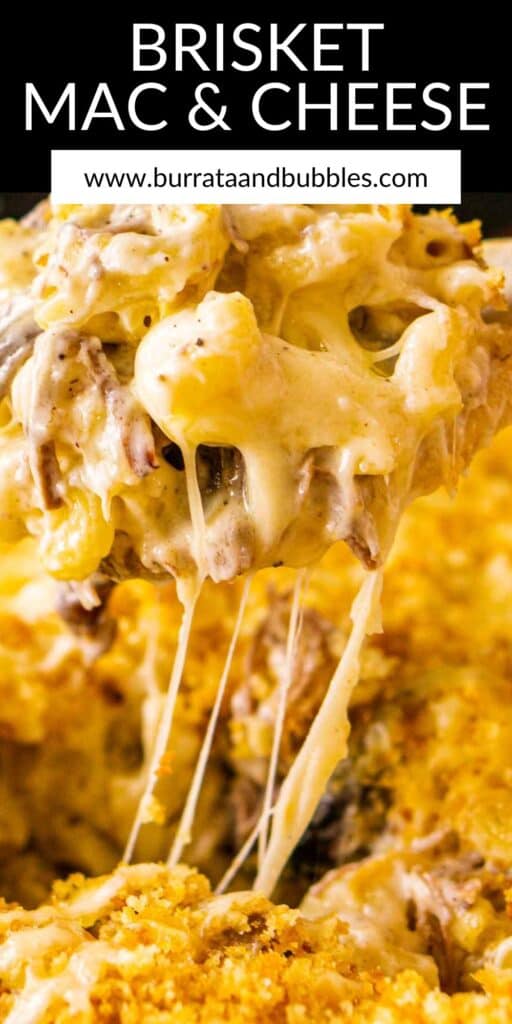
Your favorite barbecue and comfort food dish come together to make this crowd-pleasing brisket mac and cheese! Topped with crispy panko crumbs, this meaty BBQ mac and cheese features the most luscious, rich cream sauce with loads of melted smoked cheddar and Gouda layered between tender pasta. This is one mac and cheese you'll want to make again and again — the entire family and all your guests are sure to love this dish.
Jump to:
Why You’ll Love This Recipe
Made for cheese lovers: As a cheese fanatic, I can promise my fellow cheese lovers that you will adore every decadent bite. As if the cheesy cream sauce weren’t enough, you’ll love how the two cheddar and Gouda layers melt in the oven to give us that drool-worthy cheese pull.
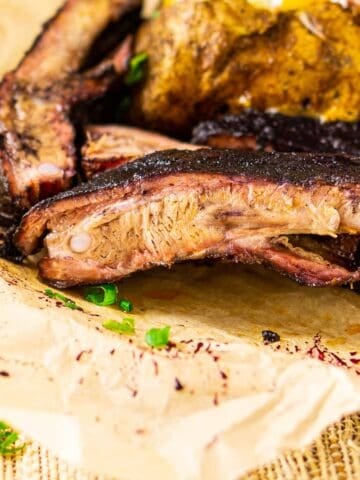
Perfect for using leftover brisket: I love making my Texas-style smoked brisket, but brisket is a big cut of meat, which means we sometimes have leftovers. We can’t let that delicious meat go to waste, and this mac and cheese is perfect for putting those leftovers to good use. Oh, and if you're looking for more ways to use that leftover brisket, you'll also love these brisket sliders and brisket tacos.
That smoky flavor: With our smoked cheese and brisket, we add a wonderfully complex depth of flavor to this mac and cheese to make for one unforgettable dish.
Related: For more baked pasta dishes, try my crawfish mac and cheese, truffled white baked ziti and pumpkin mac and cheese!
Ingredients
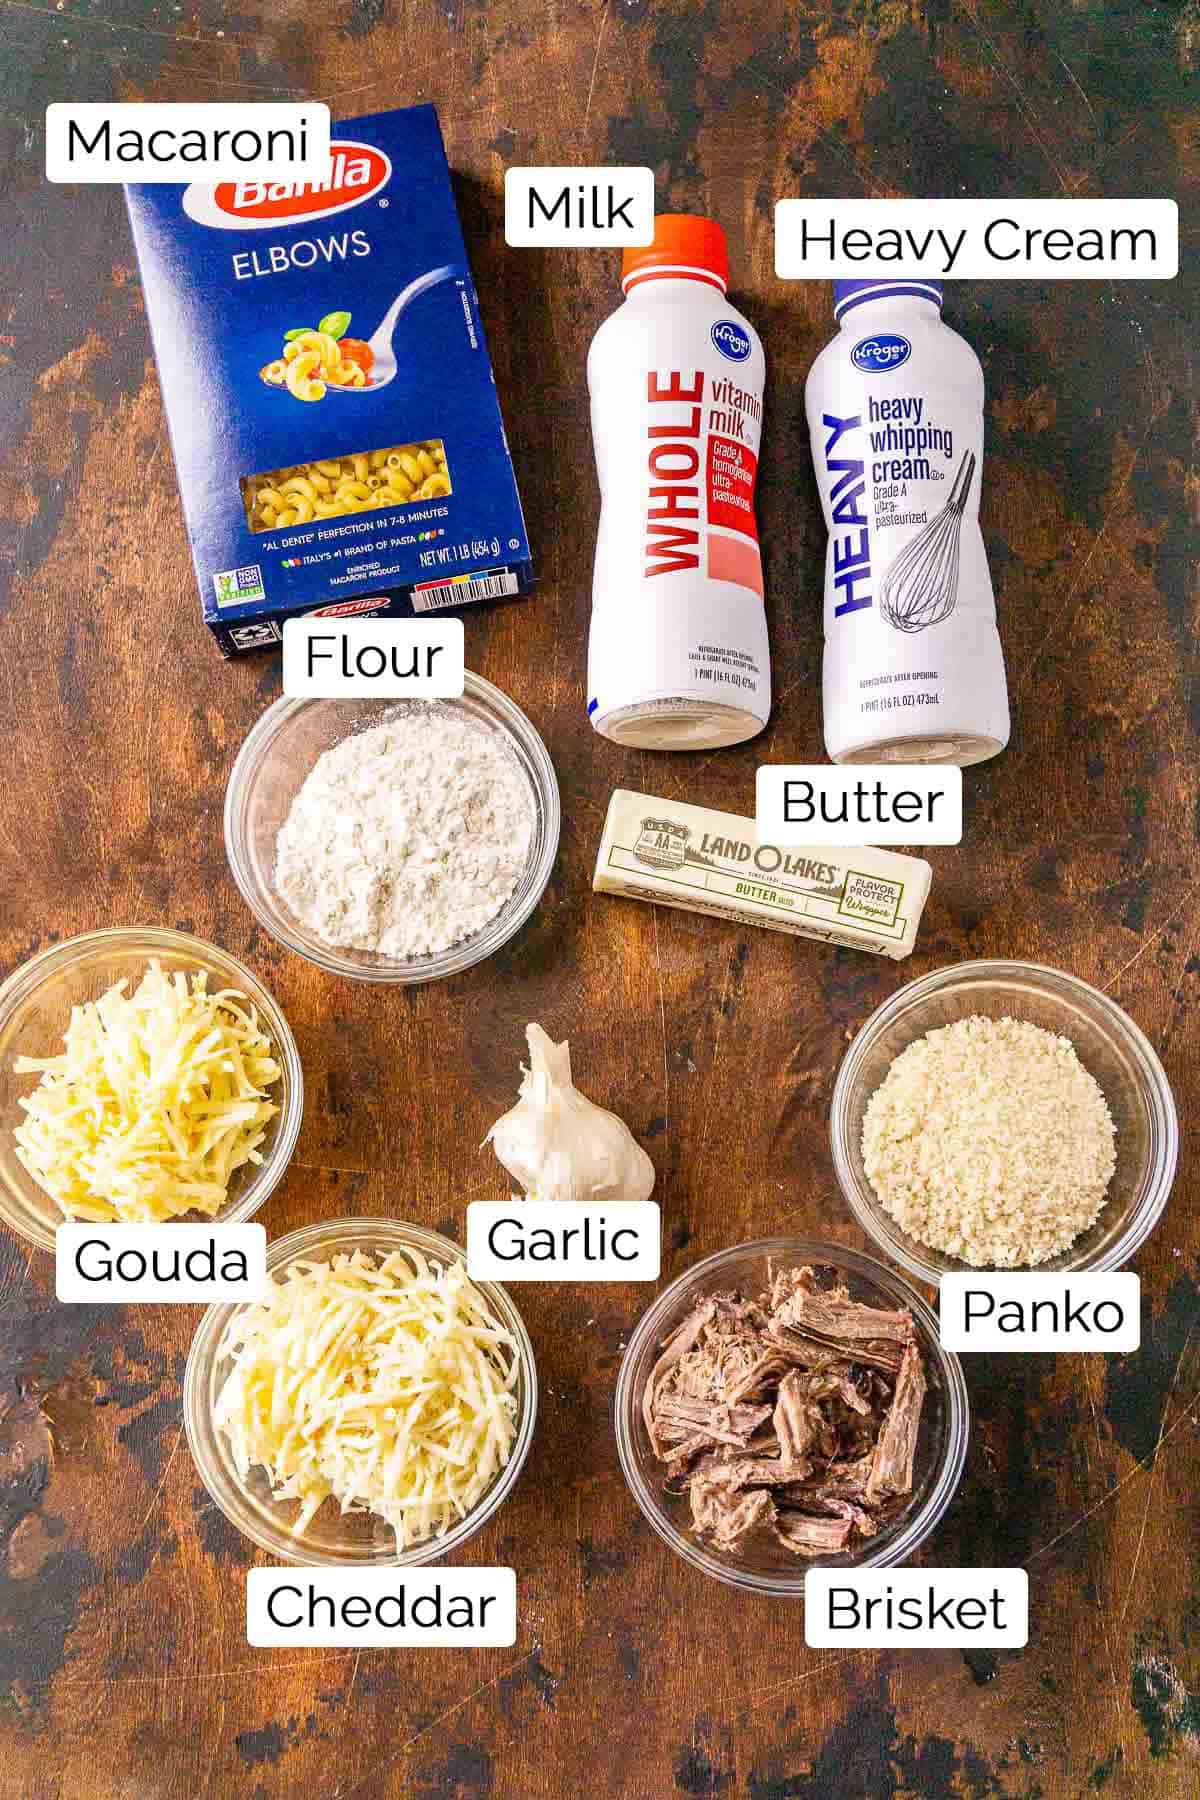
Brisket: As mentioned, I love using smoked brisket for the flavor, but if you have leftover brisket from a slow cooker or oven, that will work just fine too.
Macaroni: This is the classic pasta shape, but feel free to swap it for another type. Cavatappi and shells are popular options. Even a larger pasta shape, such as rigatoni, rotini or penne, works well.
Smoked cheddar and Gouda: If you can’t find the smoked varieties, unsmoked cheese also works — you just won’t get as much smoky flavor. I can typically find smoked cheddar and Gouda with the specialty cheeses without a problem, but sometimes the store runs out. I prefer a sharp cheddar cheese, but you can pick up whatever is available.
Heavy cream: For the most luscious sauce, we want heavy cream, not half and half. Mac and cheese is all about splurging, so let’s make the most of this treat meal.
Whole milk: Like the heavy cream, we want whole milk rather than a lower-fat variety for the best flavor and texture.
Panko crumbs: These are Japanese bread crumbs, and they make for an extra crispy topping. You could also substitute them for Ritz crackers mixed with melted butter, or you can simply leave them out if you prefer your mac and cheese with no topping.
Step-by-Step Instructions
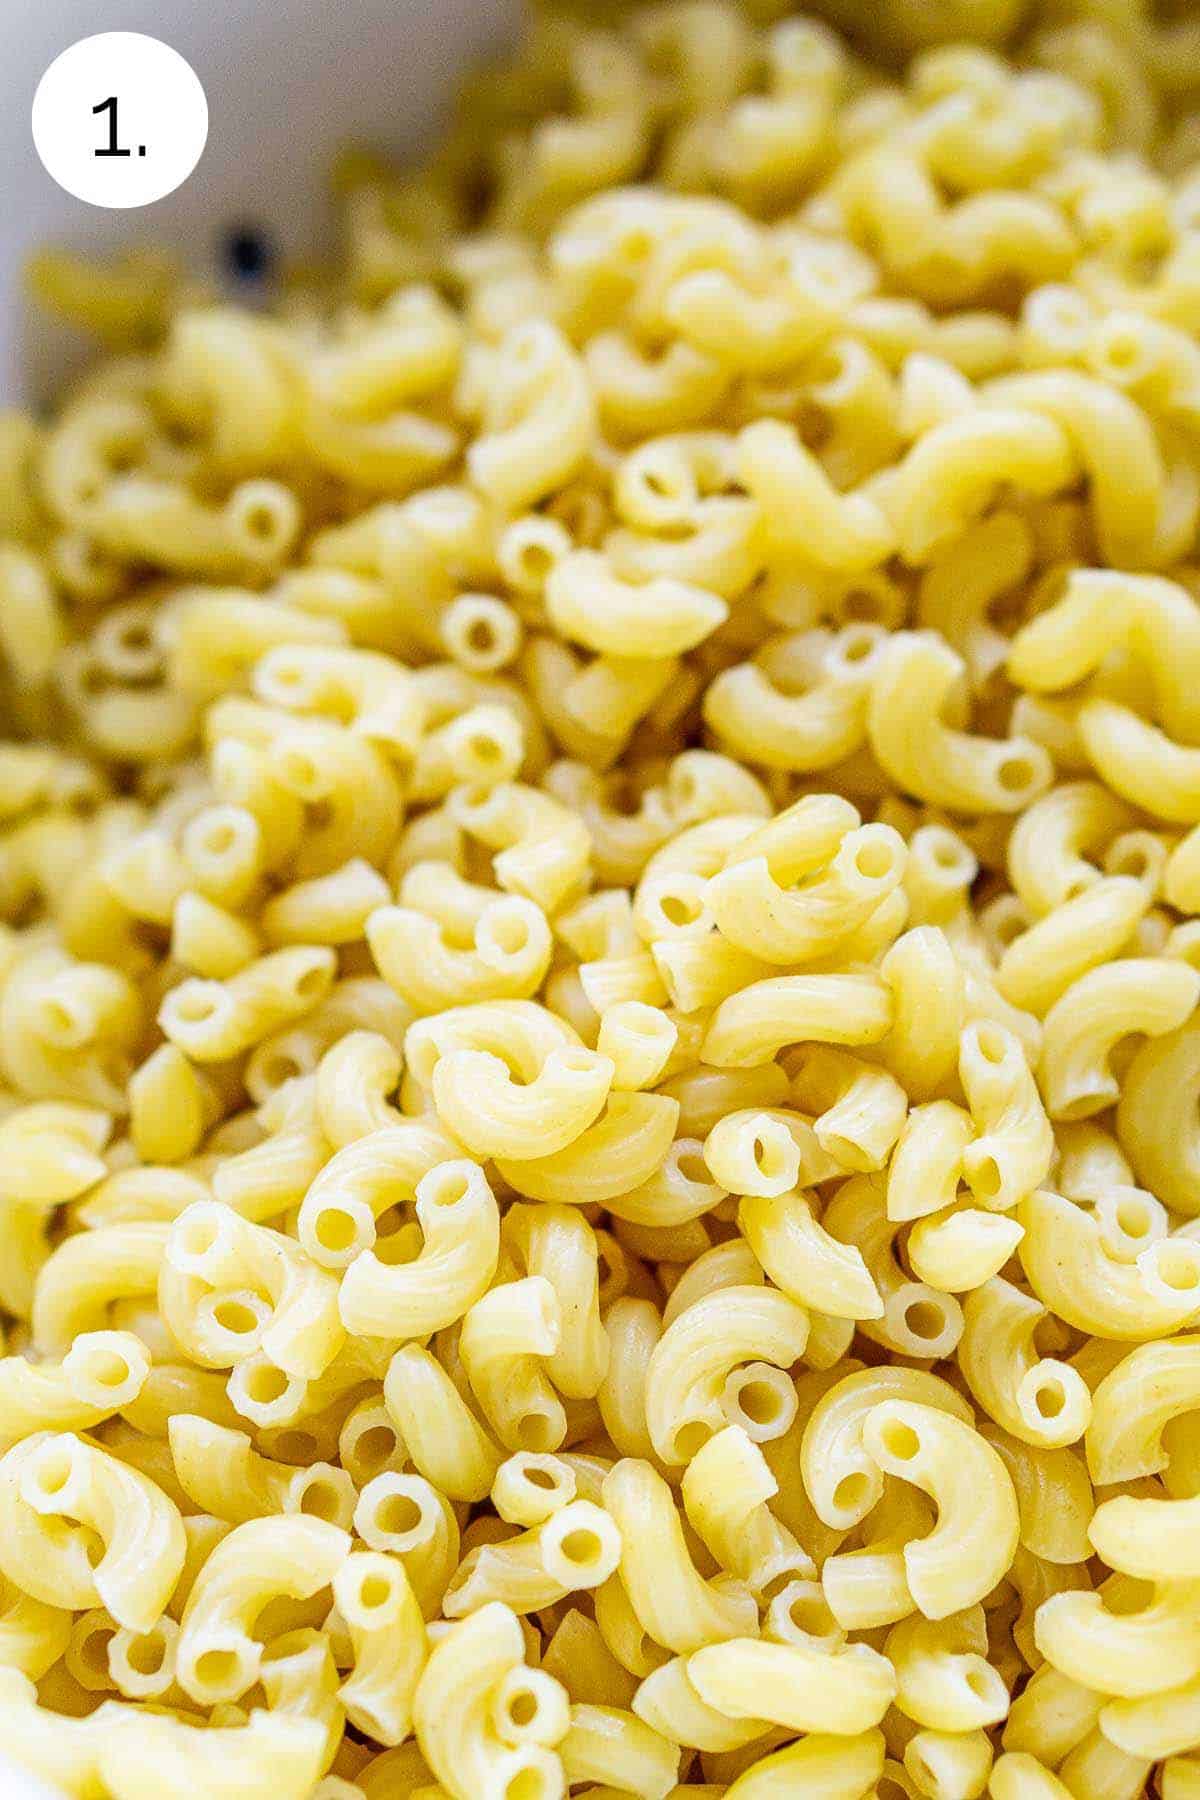
Step 1: We start by bringing a large pot of salted water to a boil and then cook our macaroni for two minutes less than the package directions specify. When the macaroni finishes boiling, we drain the pasta and reserve (photo 1).
Pro tip: The macaroni will continue cooking in the oven, so we don’t need to fully boil it to al dente at this stage. That said, if you plan on serving as a stove-top mac and cheese and skipping the baking process, you should fully cook the pasta according to the package instructions.
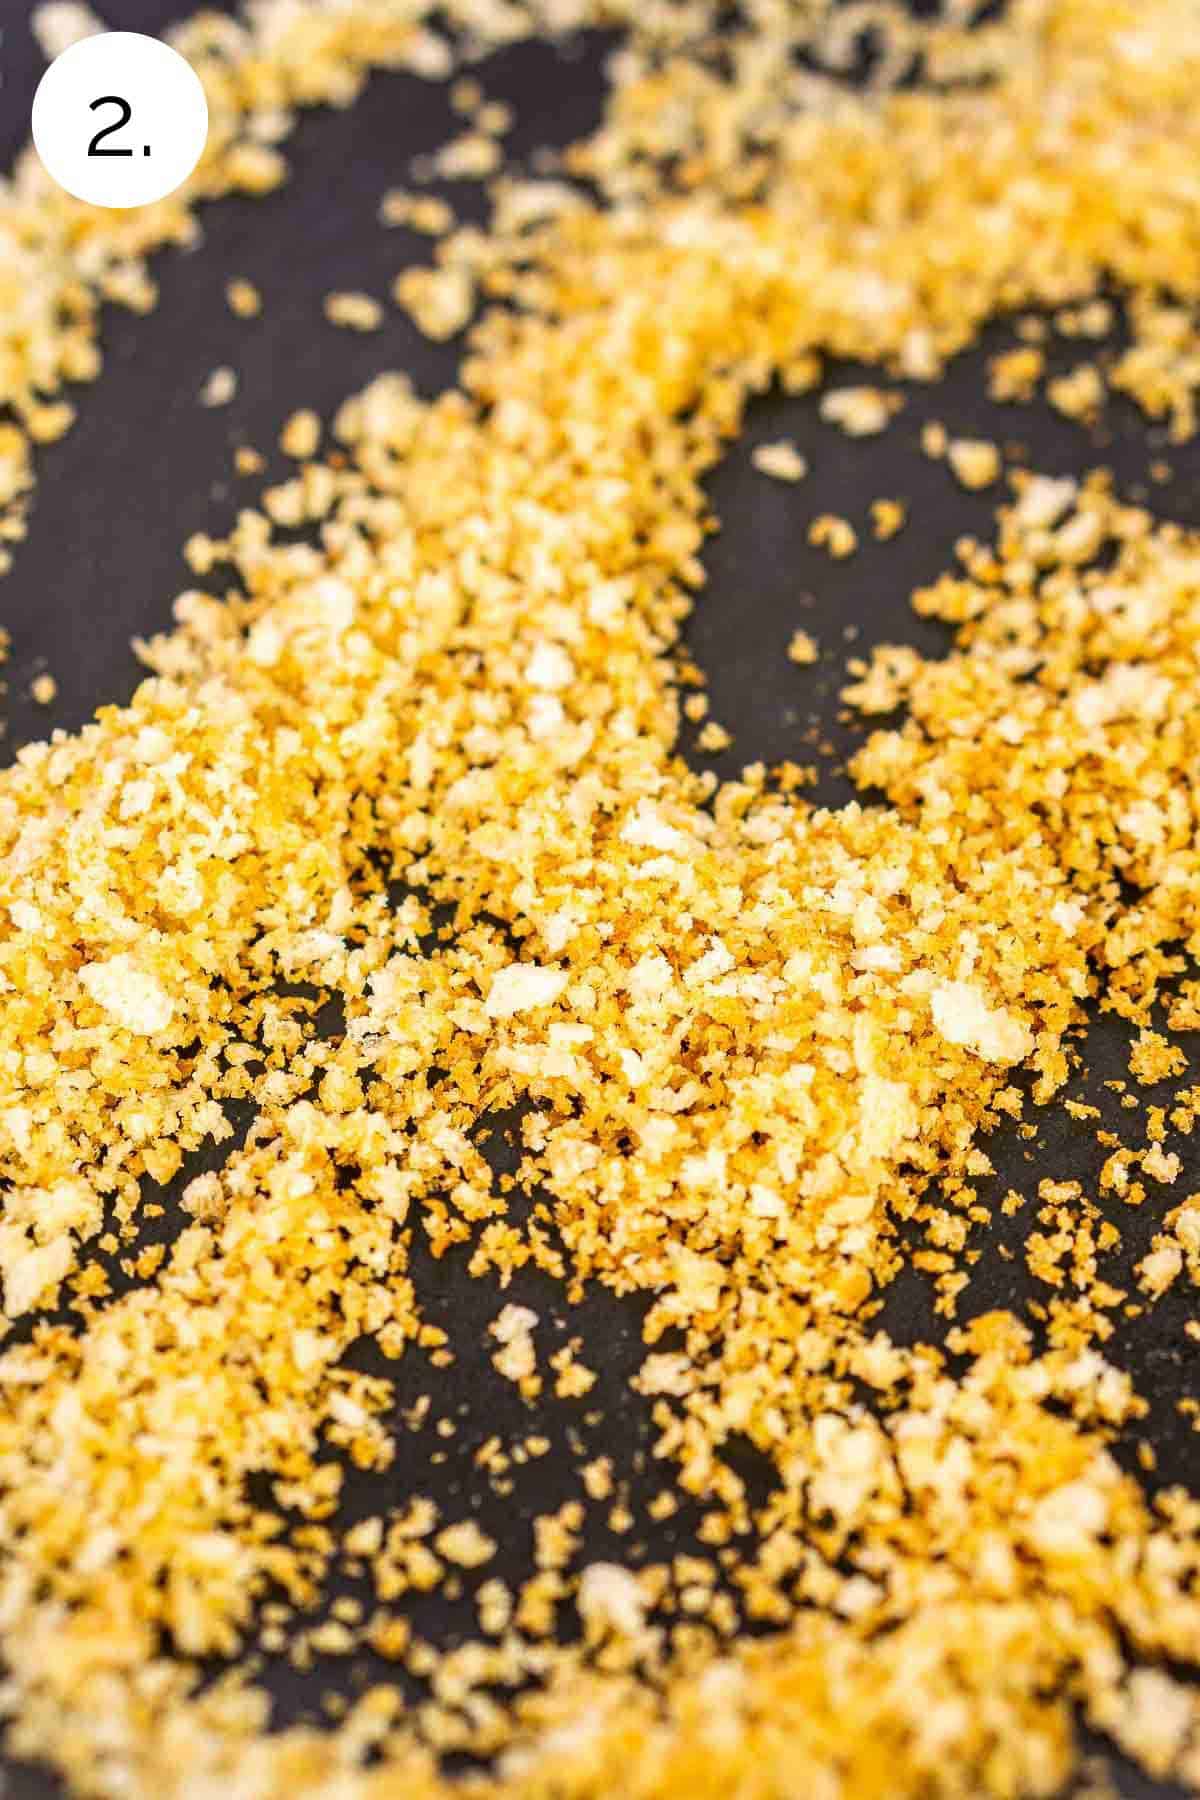
Step 2: While the water boils and the pasta cooks, let’s do a little multitasking and brown our panko crumbs. To do this, we melt some butter in a skillet over medium-high heat, stir in the panko crumbs and cook until golden brown (photo 2). The panko won’t brown in the oven, which is why we take care of this step on the stove.
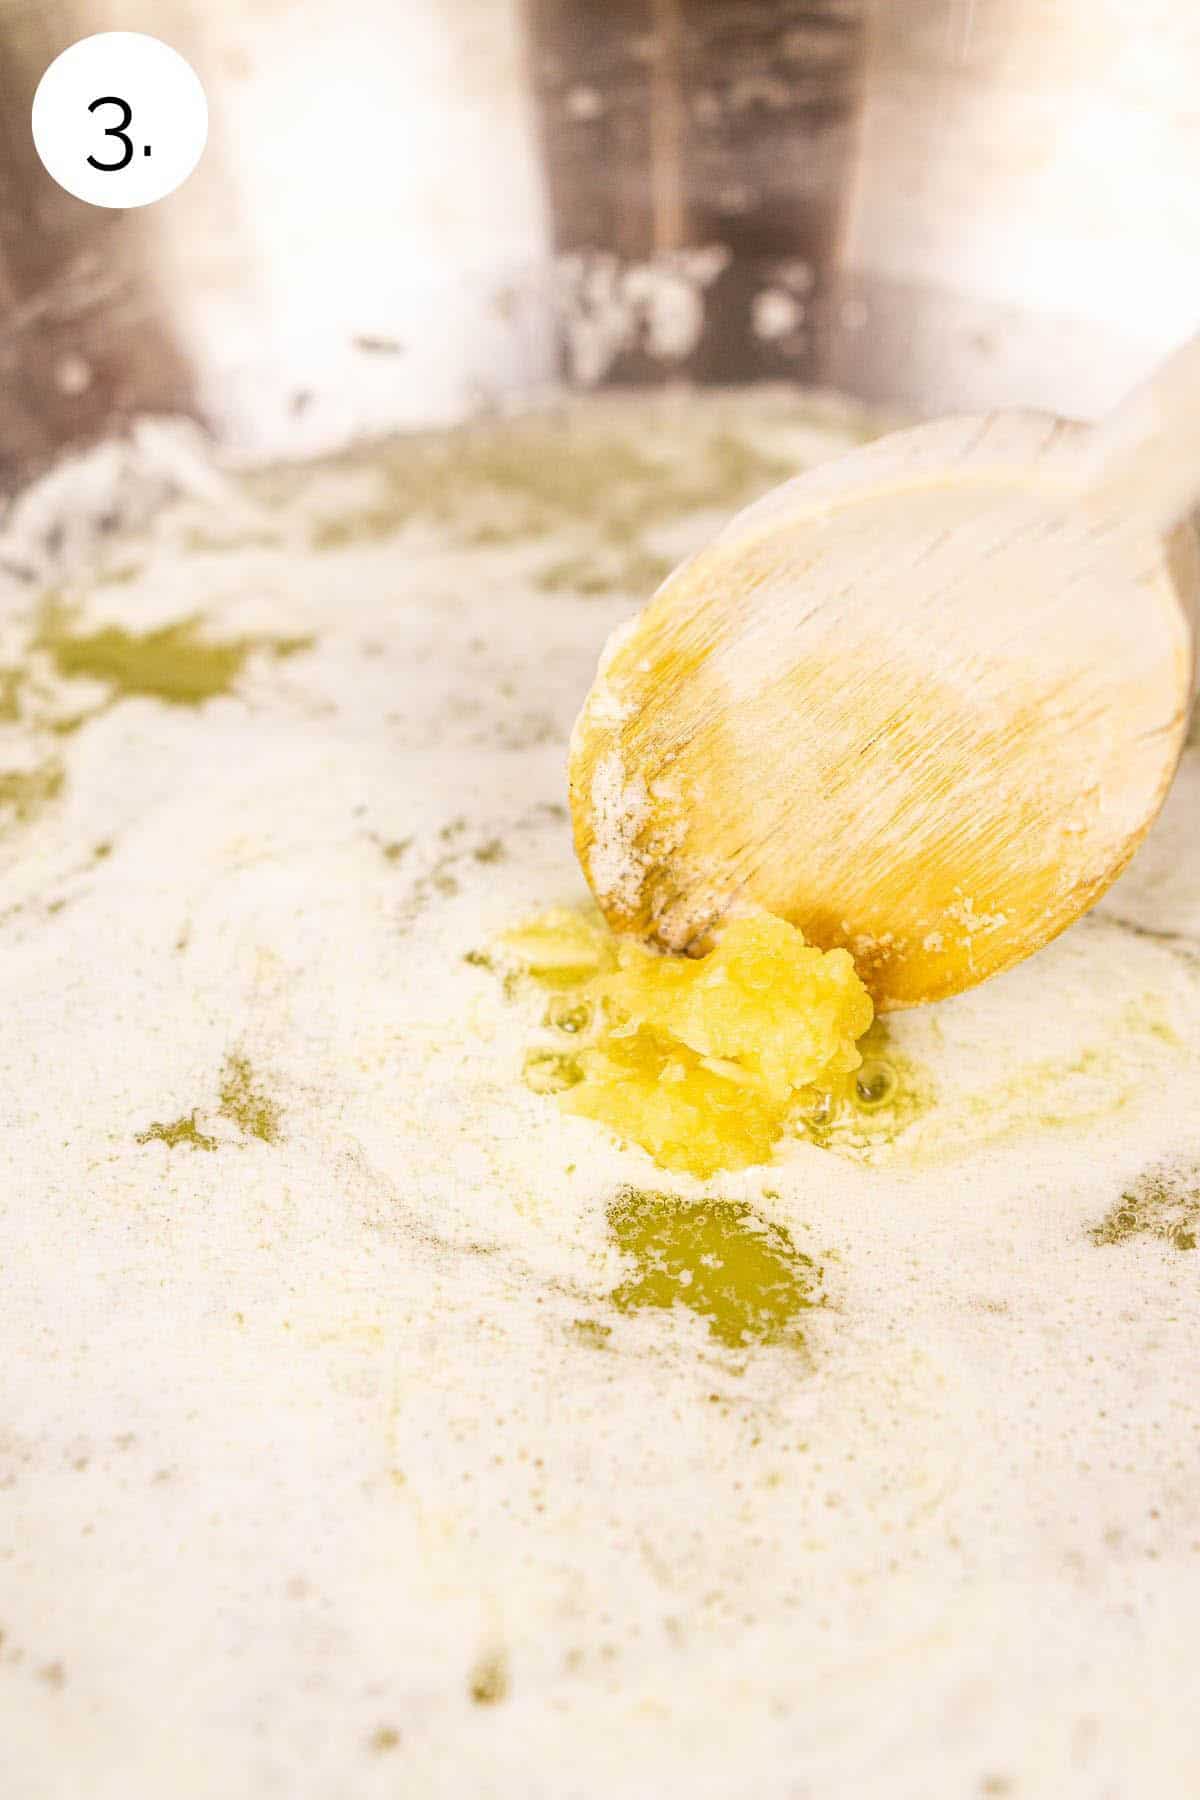
Step 3: Now we start on our cheese sauce by making a roux. For this step, we melt some butter in a large skillet over medium heat and stir in some garlic at the very end (photo 3).
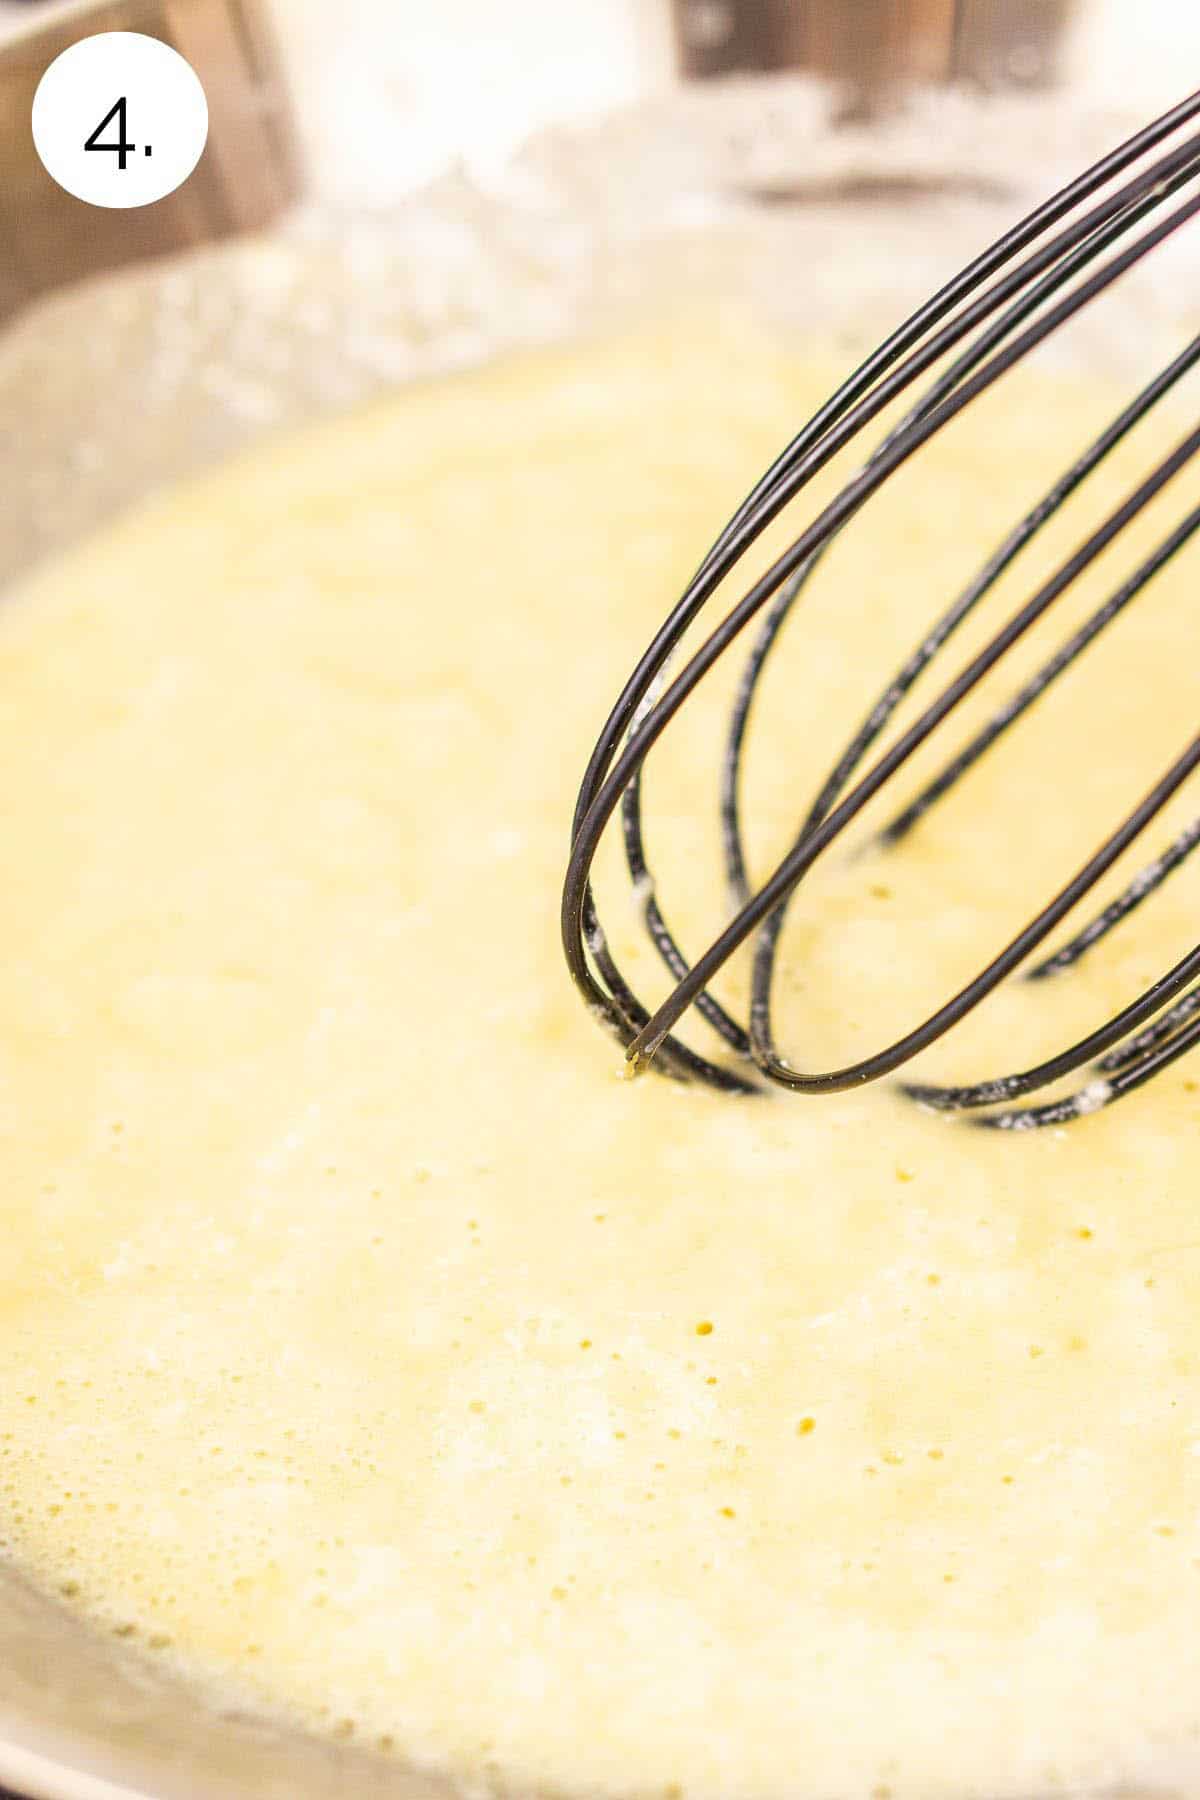
Step 4: From here, we whisk in some all-purpose flour, which is our thickening agent, and continue to whisk for about three minutes (photo 4). This ensures we eliminate the flour taste in our sauce.
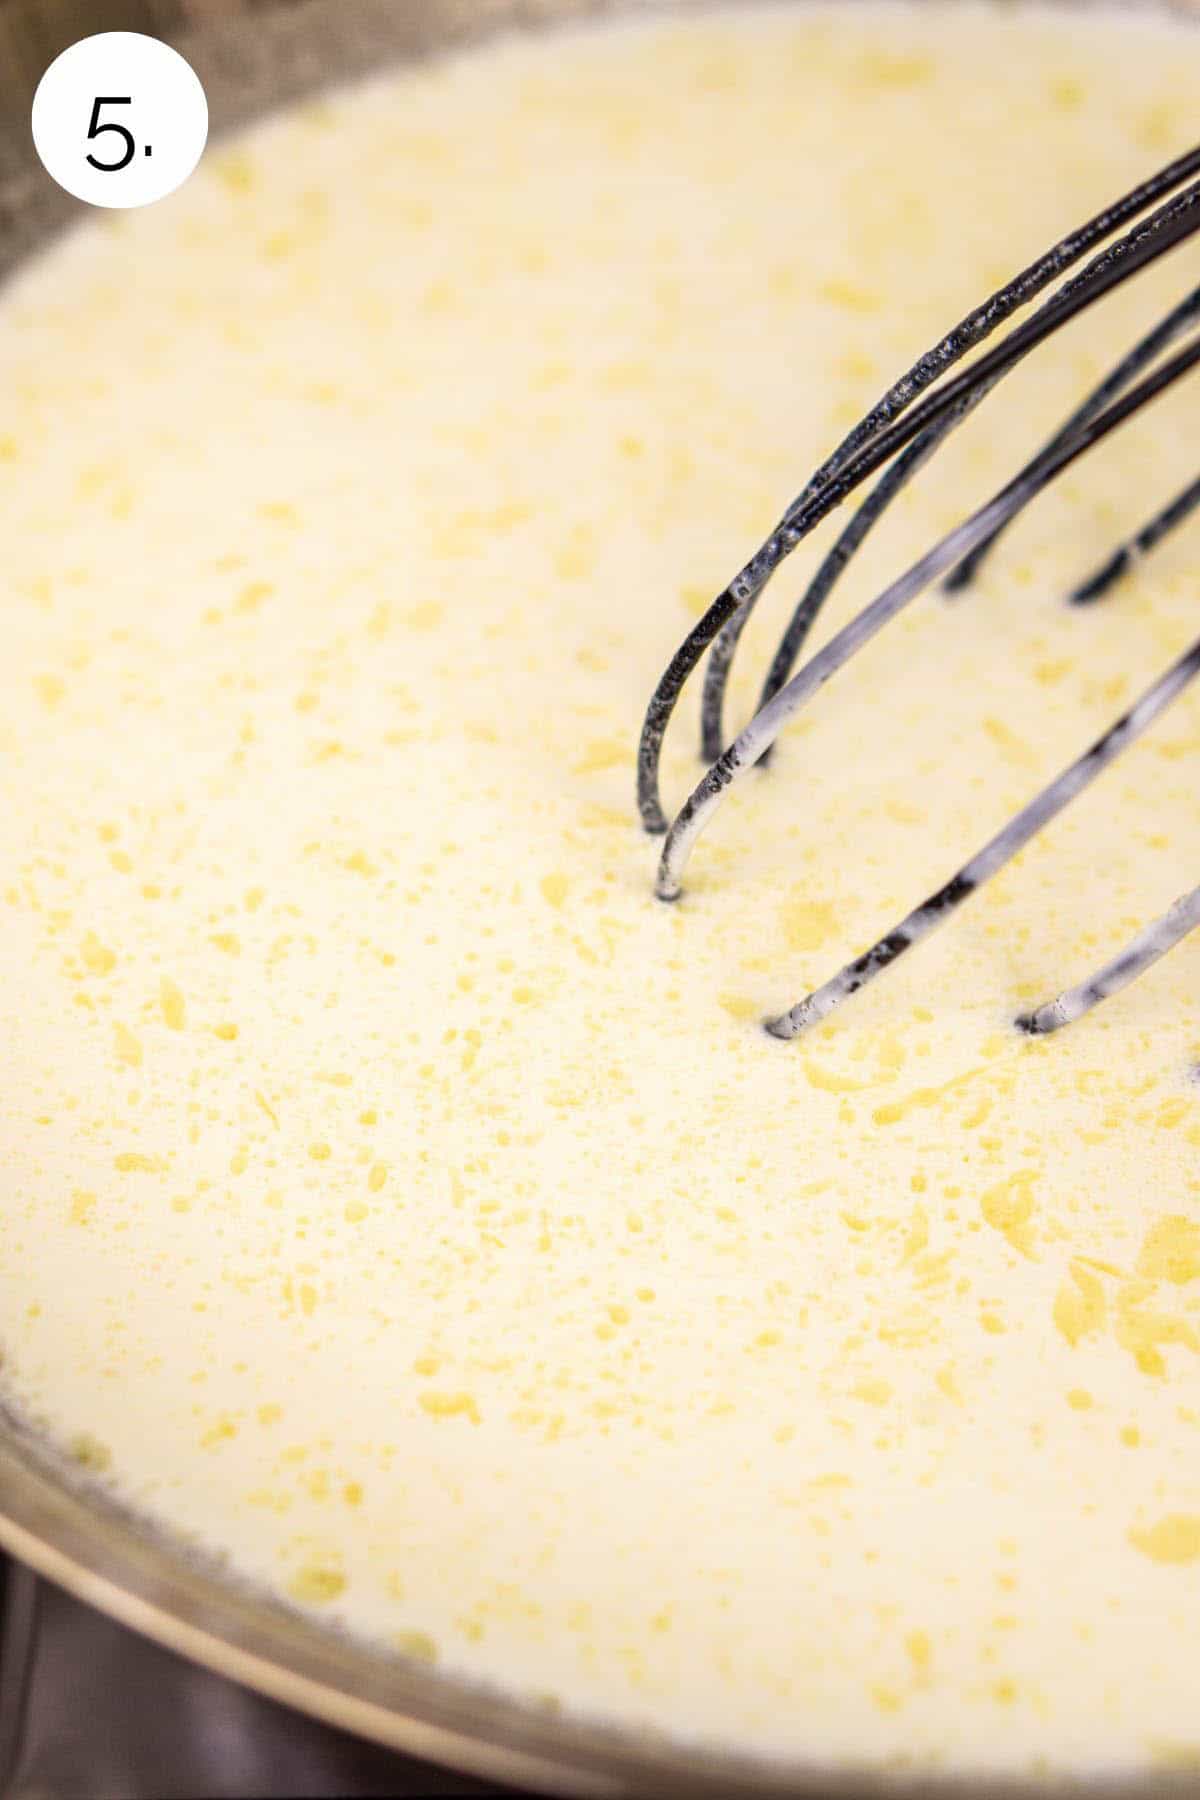
Step 5: After cooking the flour, we’re ready to pour in the milk and heavy cream (photo 5). Once the milk and cream hit the skillet, we want to immediately whisk the mixture well to smooth out any flour clumps. Now we season with salt and black pepper and bring the cream to a simmer to properly thicken the sauce.
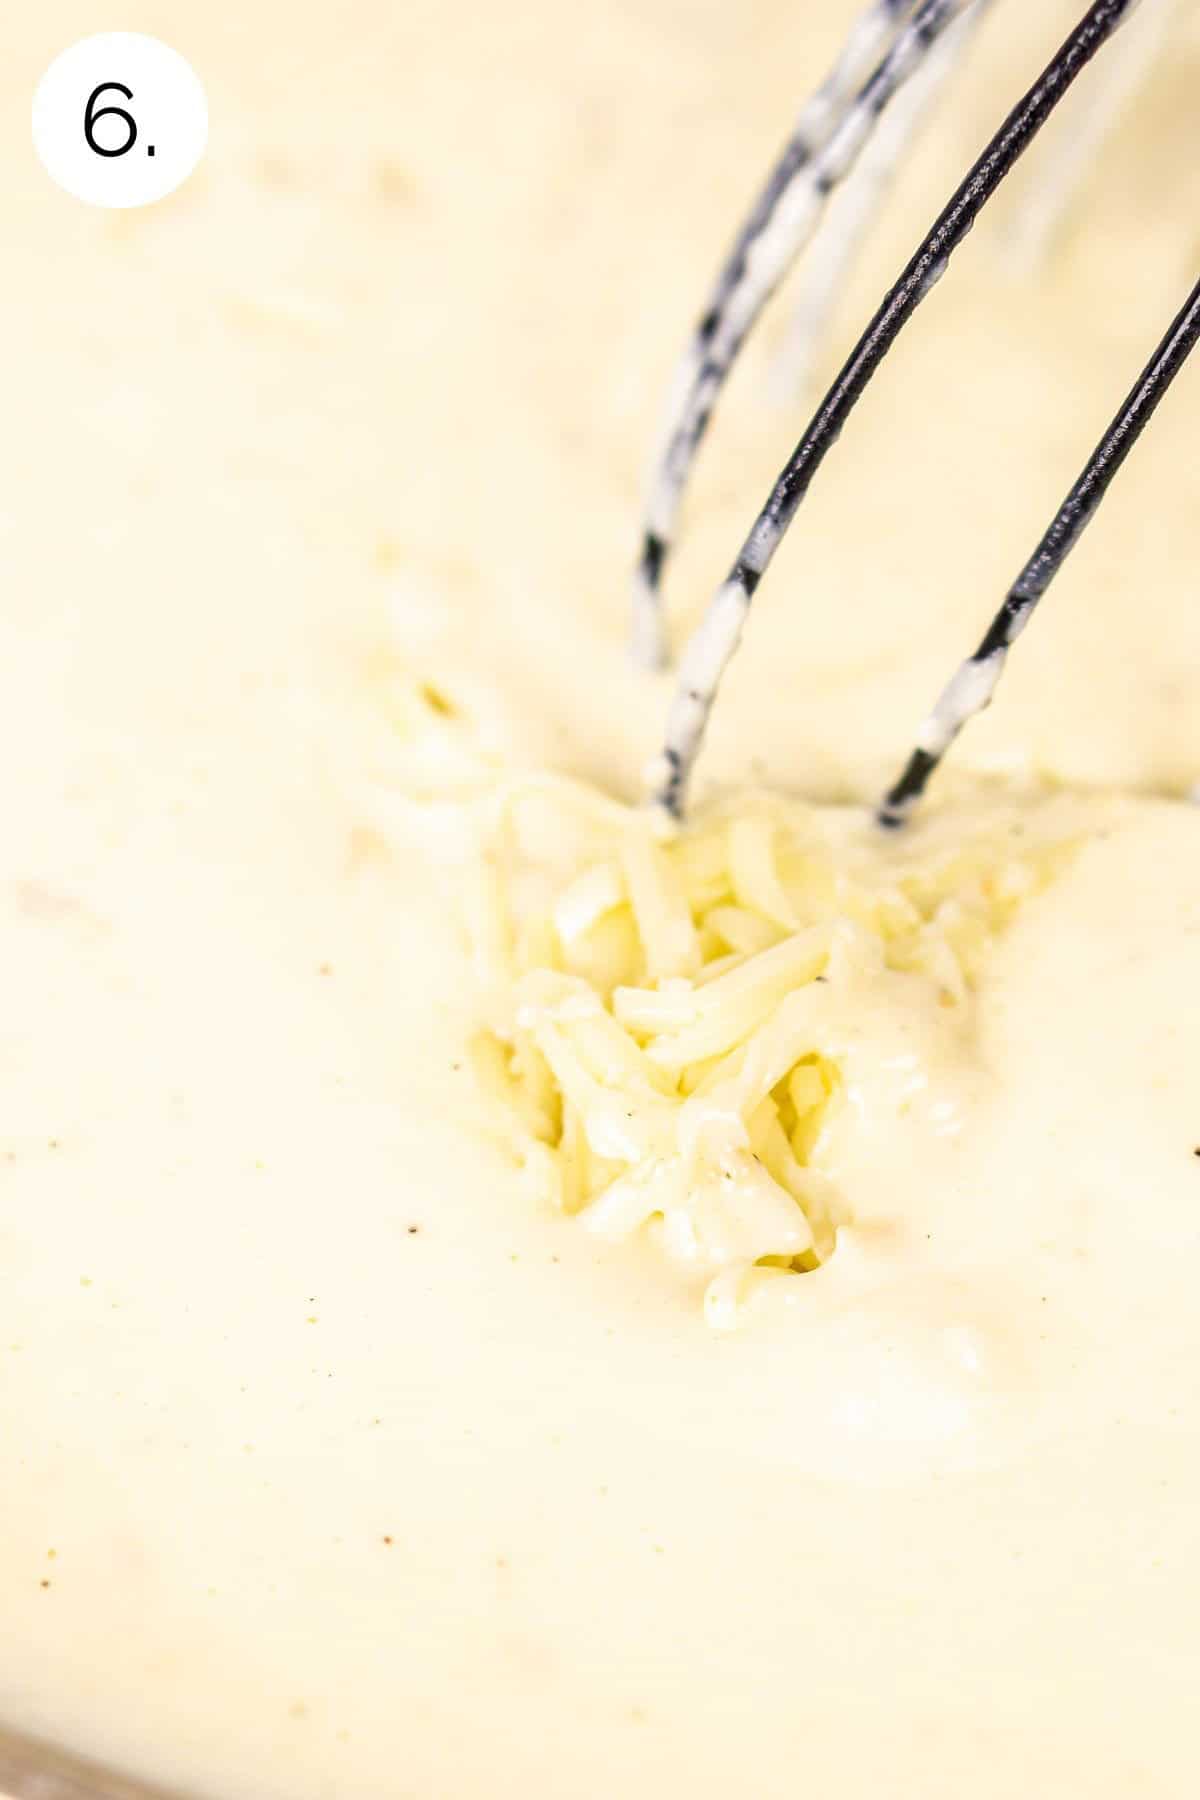
Step 6: When the sauce thickens, we turn off the heat and whisk in the smoked Gouda and cheddar until the grated cheeses fully melt (photo 6).
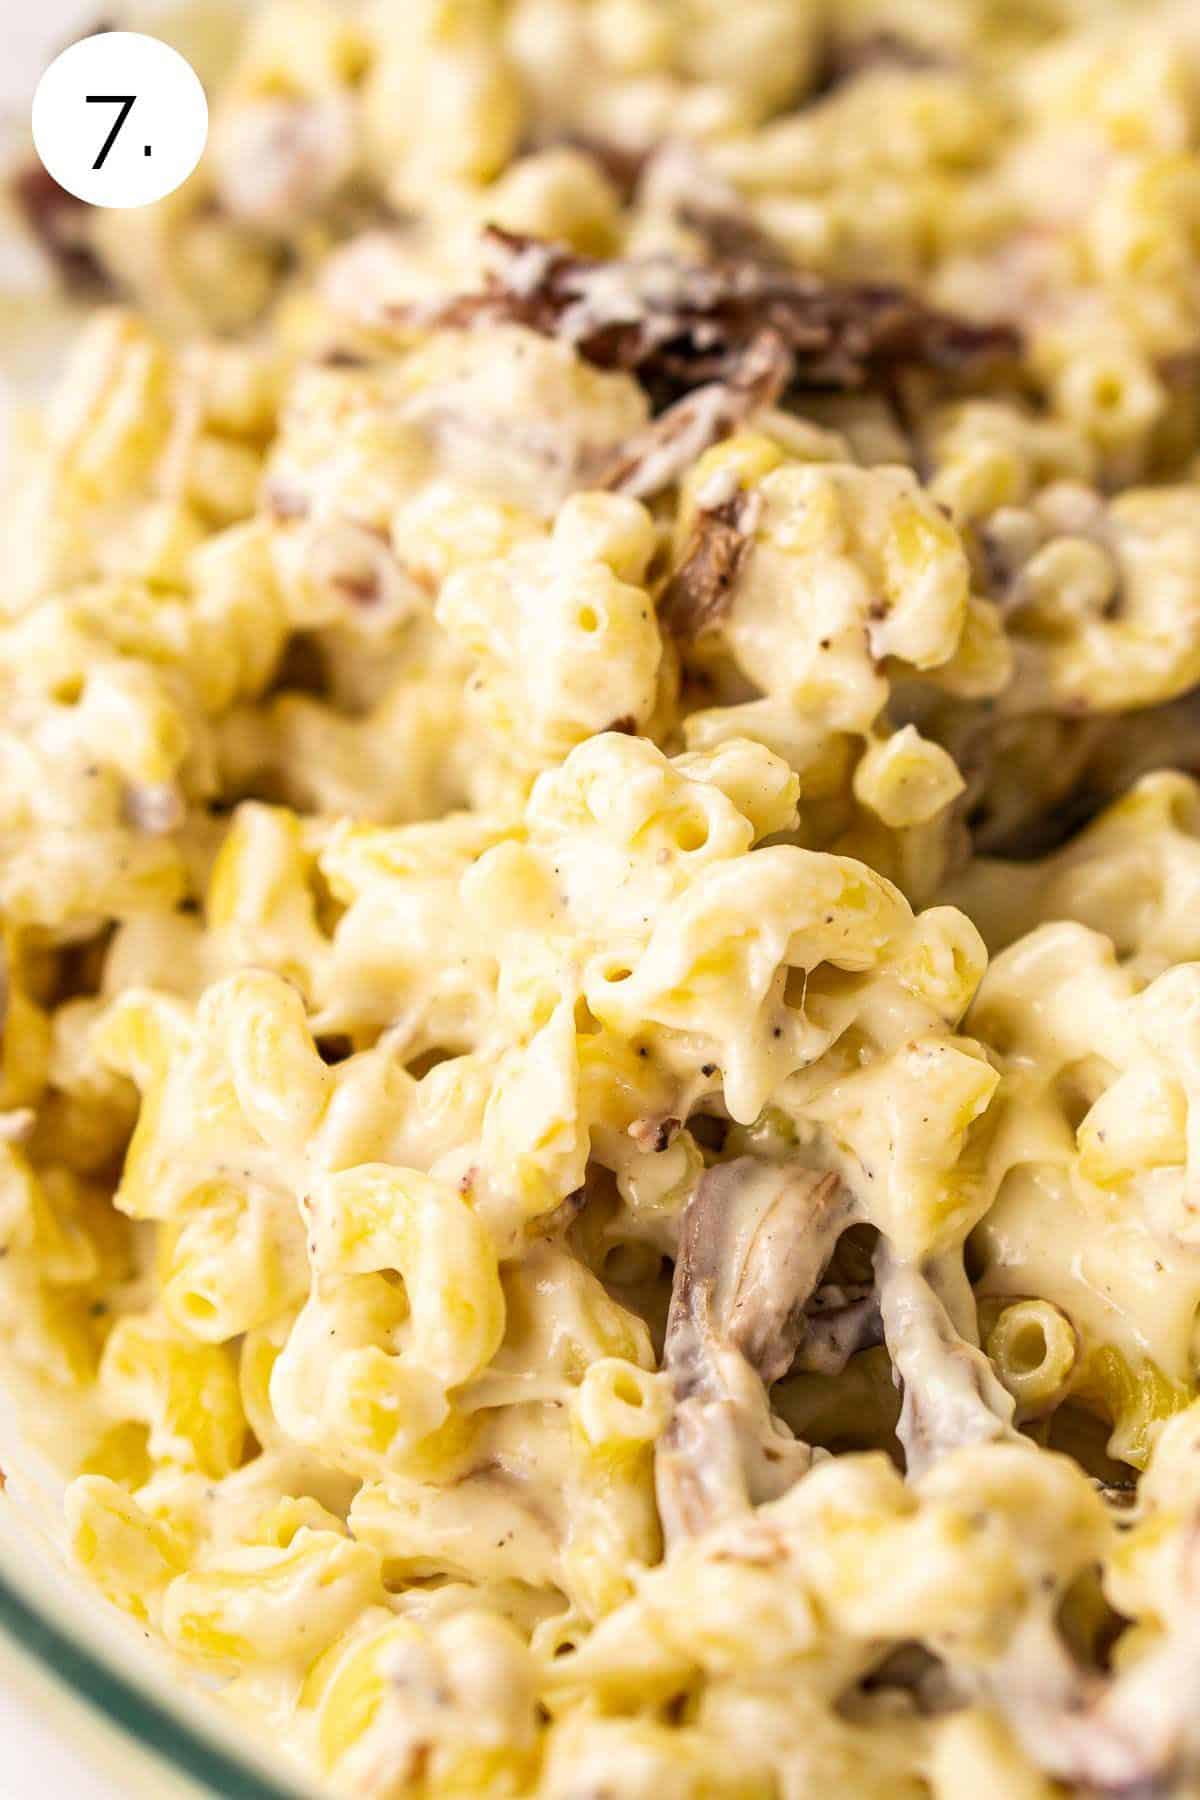
Step 7: And just like that, we have our roux-based cheese sauce with the perfect creamy texture. We can now stir in the partially cooked pasta and chopped brisket with the cheese mixture in a large bowl (photo 7).
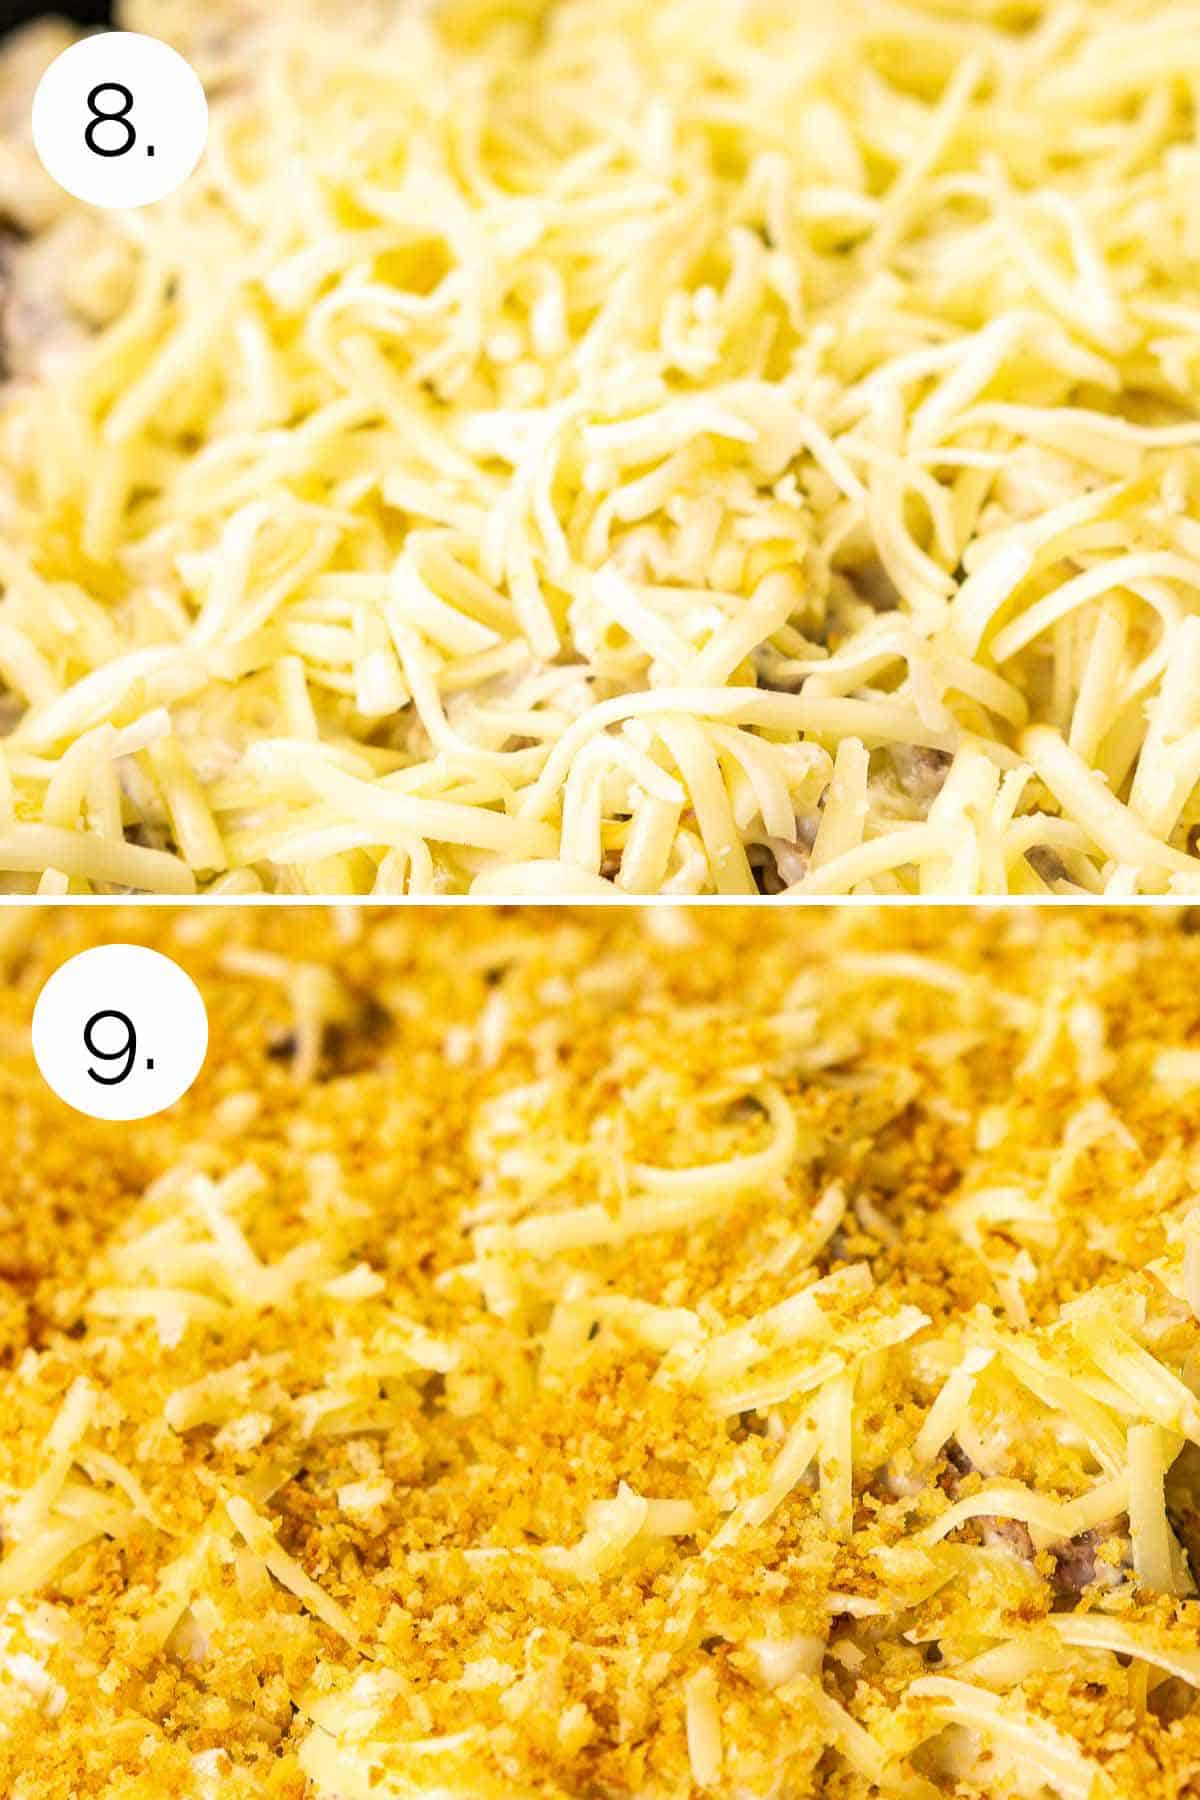
Step 8: If you prefer a stove-top mac and cheese, you’re ready to serve. But for a baked mac and cheese, pour half the cheesy macaroni into a 12-inch cast-iron skillet or 9-inch-by-13-inch baking dish. We then sprinkle grated cheese on top (photo 8) and follow that layer with the remaining macaroni, another layer of grated cheese and the browned panko crumbs (photo 9).
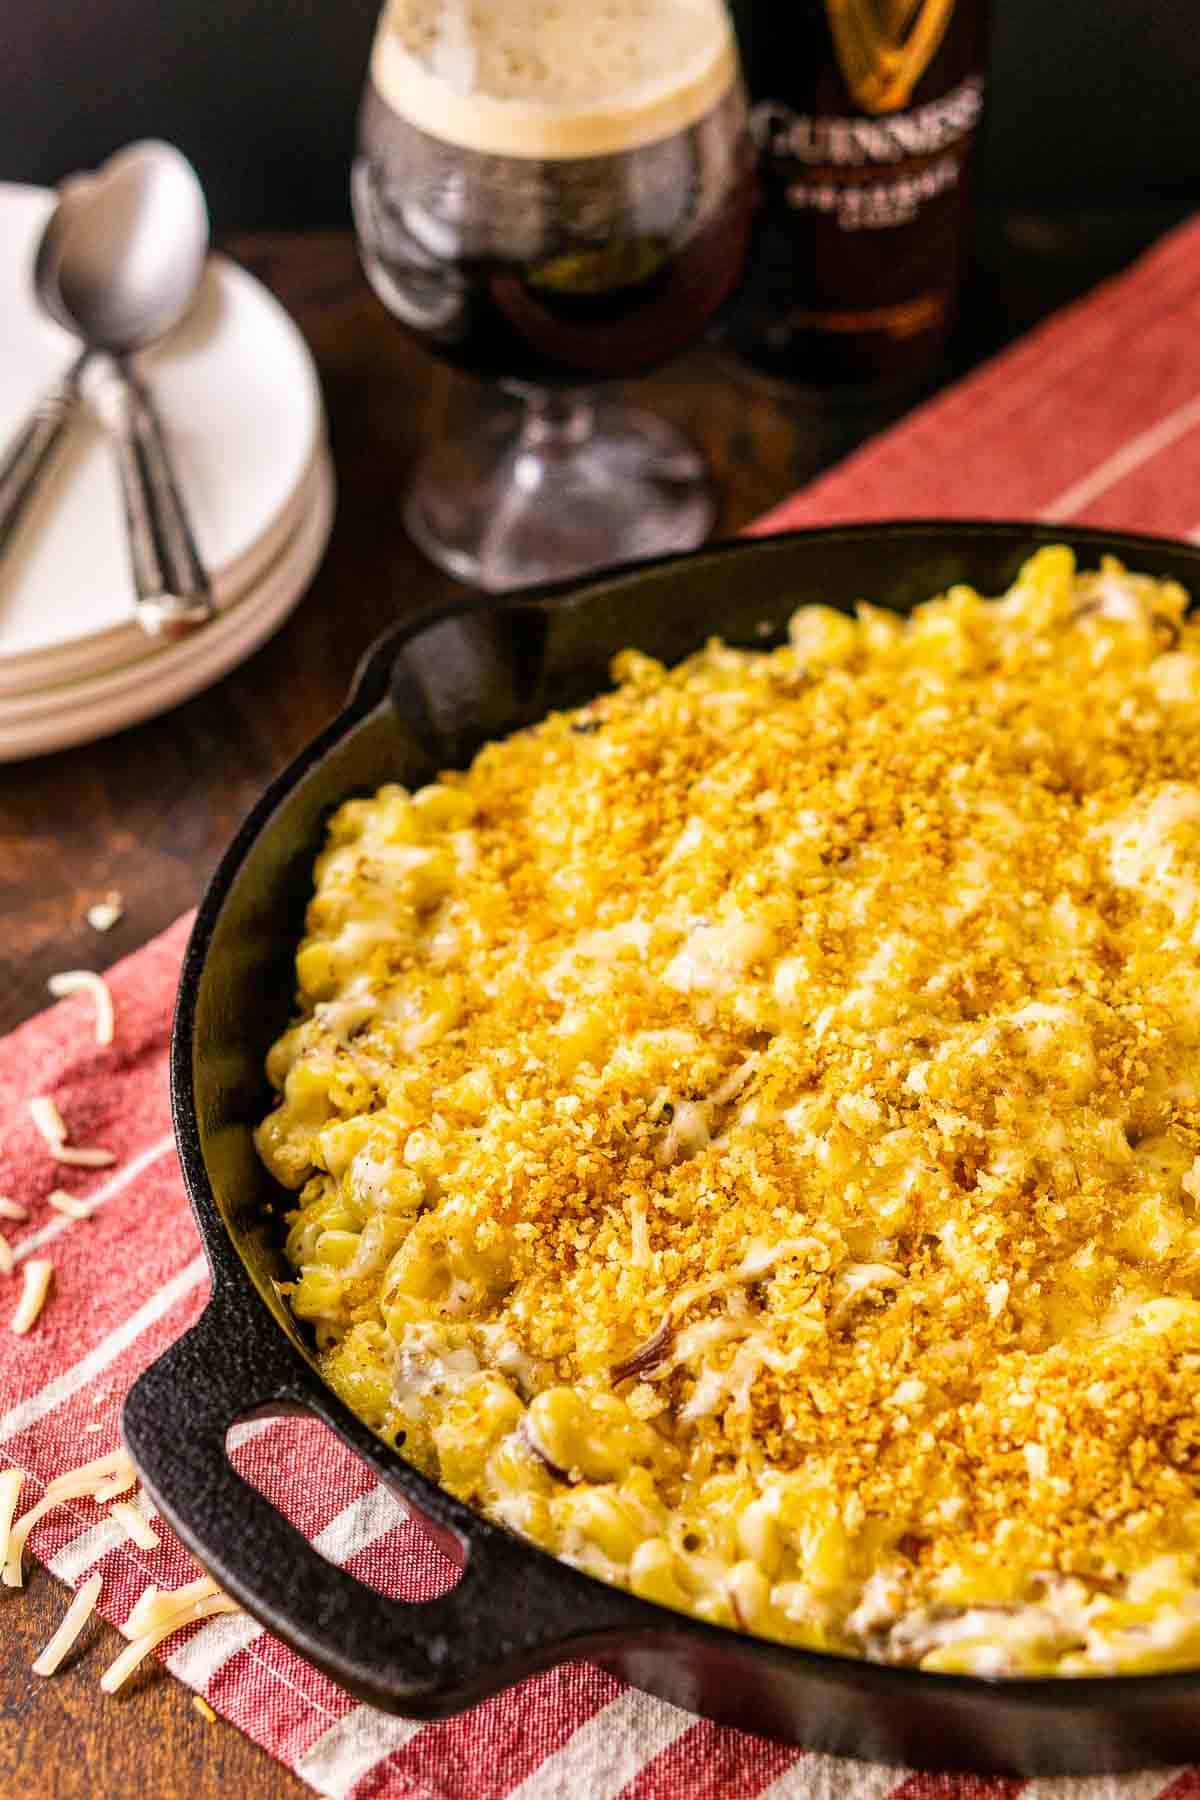
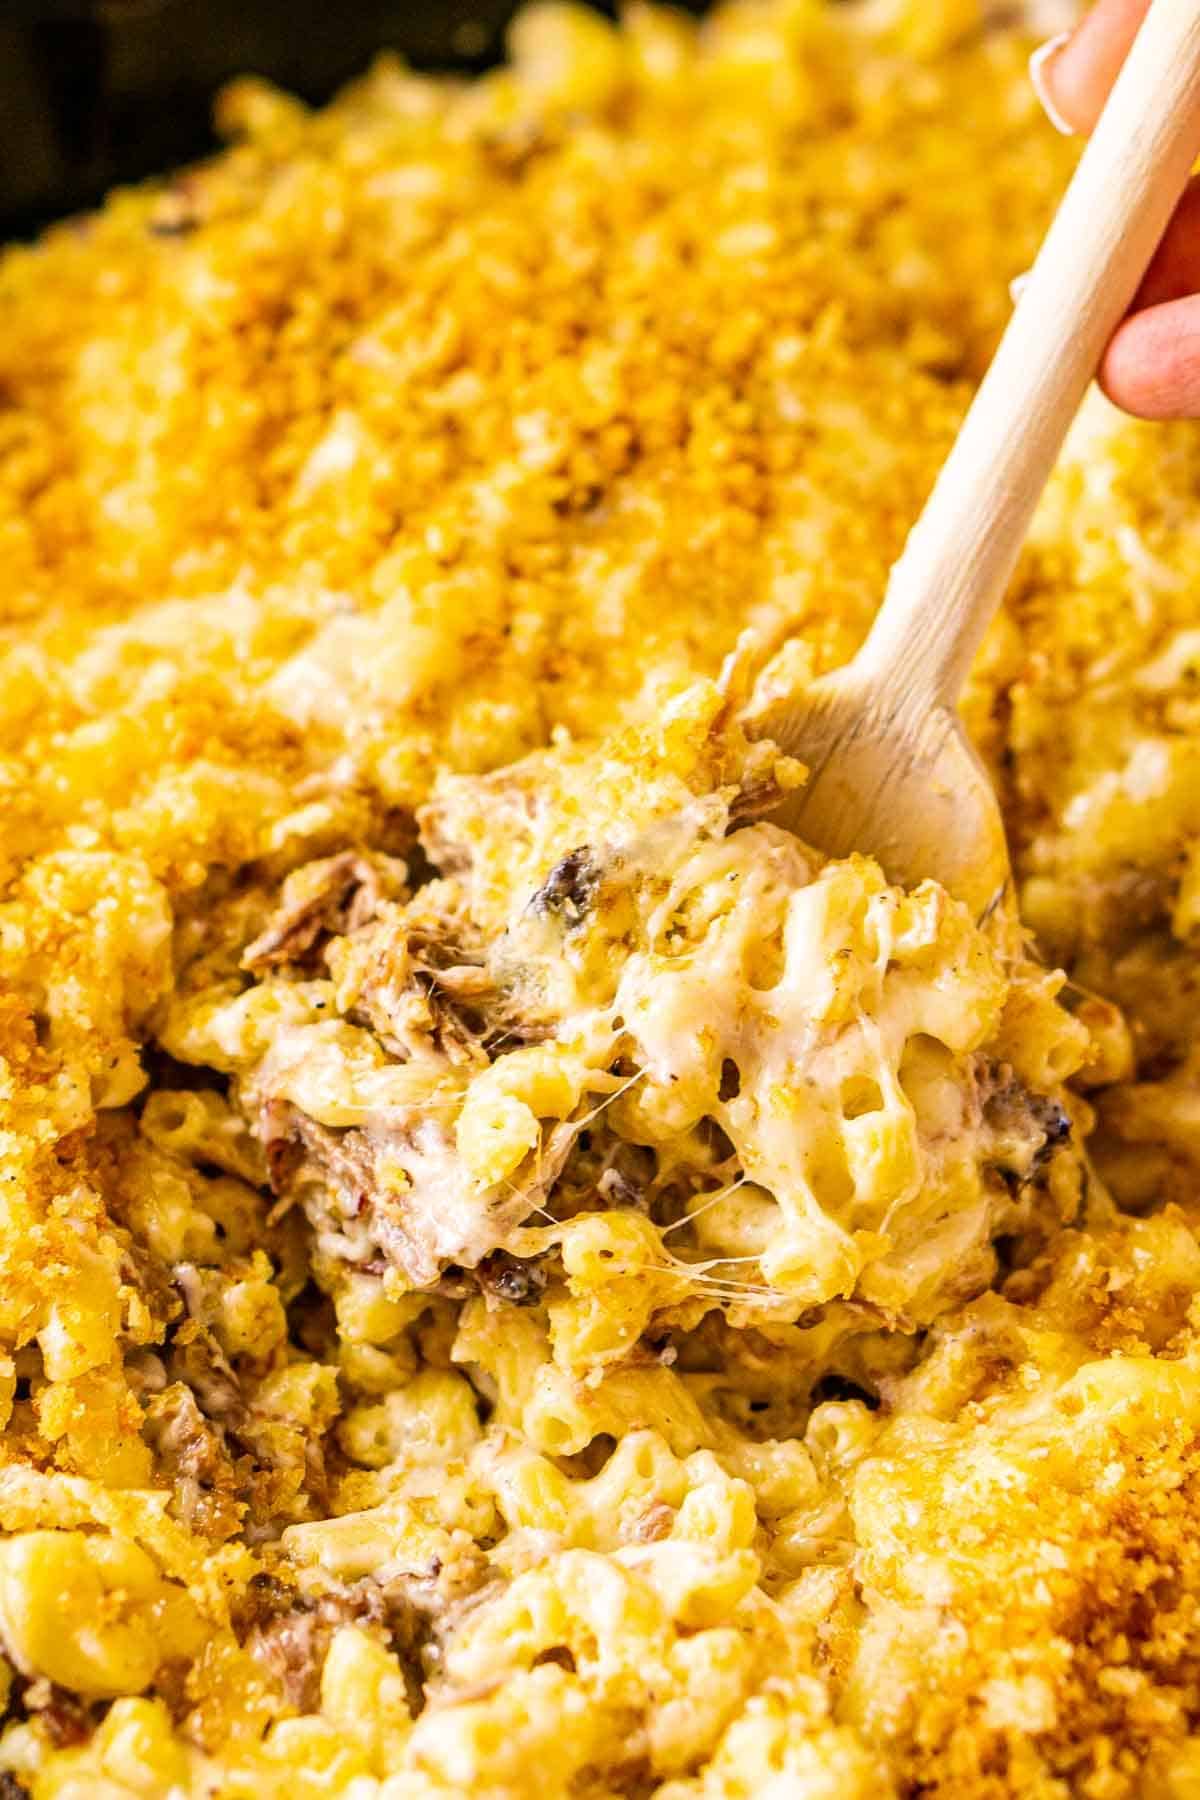
Now we bake the beef brisket mac and cheese until it’s nice and bubbly. Grab a spoon and try not to let the drool drip on your chin as you scoop out the most decadent cheesy pasta bake. Serve with some jalapeño popper cornbread and love every bite.
Make-Ahead Directions
You can make a delicious baked mac and cheese ahead of time, but you’ll want to follow a few tips. I recommend serving a stove-top mac and cheese immediately.
- To make ahead of serving time, rinse the macaroni with water after cooking, which you don't have to do if baking immediately.
- Store the pasta, cheese sauce, brisket and shredded cheese in separate airtight containers in the refrigerator for up to two days.
- Before assembling, warm the cheese sauce in the microwave and maybe add a splash of milk. The cheese sauce doesn't need to be hot but just warm enough to turn back into a liquid consistency.
- Mix the macaroni, brisket and cheese sauce together and then assemble as directed and bake.
- Because the pasta won’t be as warm, plan for about five to 10 minutes of additional baking time.
Recipe FAQs
The biggest culprit of grainy mac and cheese is allowing the roux to curdle. To prevent this, do not let the roux come to a boil when you add the milk and heavy cream to the flour and butter mixture. Boiling can cause milk to separate. All we need is a simmer.
Generally, you can get 1 cup of grated cheese from a 4-ounce block using the large holes on a box grater. This means you'll need about 12 ounces of cheddar and Gouda for this recipe.
Make sure you keep the leftover mac and cheese in an airtight container in the refrigerator. As long as you store it properly, you should be able to enjoy leftovers for three to four days, and you can reheat it in the microwave. If necessary, stir in some milk or cream as you reheat.
Even with some extra milk, it won’t be as creamy as freshly baked, so I don’t recommend this for company. But it does make a quick and tasty lunch or low-key dinner for yourself.
Variations
Mix in your favorite meat. Substitute pulled pork, smoked chuck roast, smoked candied bacon, smoked chicken, corned beef, shredded beef or any other favorite protein. You could even use a combination or vegetarian mix-ins, such as green chiles, sautéed red onions, hot sauce or BBQ sauce.
Skip the baking for a saucier dish. Stove-top mac and cheese is a great option if you prefer a more runny sauce. Baked mac and cheese is my personal favorite, but you do you.
Swap in other cheeses. A Monterey jack cheese or smoked Gruyère, for instance, would both be great. And don’t feel like you have to use a smoked cheese if it isn’t available. You have a lot of leeway here to experiment.
Cook in the smoker. Check out my smoked mac and cheese to get the details on how to do just that.
Use a broiler for a cheesy crust. If you’d like to add a bit of a crisp texture to the cheese topping, broil it for a minute or two. Make sure you use a broiler-safe baking dish and keep a close eye on the cheese — it doesn’t take long for a broiler to work its magic. If desired, you can serve with a drizzle of barbecue sauce on top.
Expert Tips
Use room-temperature milk and heavy cream: Adding cold liquid can cause the roux to seize. Simply let the liquids sit at room temperature 30 minutes before using. If you forget, a short one-minute burst in the microwave should do the trick.
Shred your own cheese: Bagged shredded cheese is coated with a substance to prevent clumping, which causes it to not melt as well. For the creamiest texture, take a couple minutes to shred your own cheese.
Trim any excess fat: Before mixing in the brisket, get rid of any large chunks of fat. The brisket's point cut is a bit fattier, and it's totally fine to use that — you just want to make sure you're using mostly meaty pieces. For leaner meat, use the flat cut.
Pick up brisket from your favorite local BBQ joint: Don’t have any leftover brisket or time to make your own? No problem. Simply place a to-go order for some smoked brisket at a local BBQ restaurant and proceed with the recipe. How’s that for a quick and easy hack?
Perfect Pairing
This barbecue brisket mac and cheese recipe was made for a stout. Not only is the smoked brisket a natural match to the stout’s roasted malt, but a stout is also great with the Gouda. A porter is another tasty option.
For a wine, you’ll love a syrah, which features a burst of berry flavors with the right touch of spice. The berries nicely contrast the smoke from the brisket and cheese while the spice nicely complements that deep, complex flavor.
If you’re in the mood for a cocktail, a dark rum- or bourbon-based drink is lovely. For a rum, try my rum sour or Barbados rum punch, both of which let the spirit shine. My chai old fashioned makes a delicious pairing if bourbon is your choice drink.
For the ultimate comfort food, you will love this smoked brisket macaroni and cheese. With that cream, cheesy sauce loaded with brisket in every bite, it doesn’t get more satisfying than this dish.
Cheers!
Get More Favorite Barbecue Recipes
If you love this recipe, please leave a comment with a five-star rating — or simply hit the five-star button in the recipe card. Don't forget to sign up for my newsletter, and you can follow me on Facebook, Instagram, Pinterest and TikTok.
📖 Recipe
Brisket Mac and Cheese
Equipment
- Large pot
- Strainer
- Cheese grater
- 12-inch cast-iron skillet or 9-inch-by-13-inch baking dish
Ingredients
- 1 pound dried elbow macaroni
- ½ cup plus 1 tablespoon salted butter divided
- ½ cup panko crumbs
- ½ cup all-purpose flour
- 4 garlic cloves grated or minced
- 2 cups whole milk room temperature
- 2 cups heavy cream room temperature
- 1 teaspoon salt
- ½ teaspoon black pepper
- 3 cups freshly grated smoked cheddar divided
- 3 cups freshly grated smoked Gouda divided
- 2 cups chopped cooked brisket
Instructions
- Heat oven to 325 degrees. Bring a large pot of salted water to a boil. Cook the elbow macaroni two minutes less than what the package directions dictate. Drain and reserve in a large mixing bowl.
- While the water boils and the pasta cooks, melt 1 tablespoon butter in a large skillet over medium-high heat. Add the panko crumbs and stir to coat. Continue to cook, stirring every so often, until the panko crumbs turn golden brown. Remove from heat and reserve.
- Melt the remaining ½ cup butter in the pot over medium heat. Add garlic and cook for 30 seconds, stirring constantly. Whisk in the flour. Continue to whisk constantly for about three minutes.
- Slowly pour in the milk and heavy cream, whisking constantly to create a smooth mixture. Season with salt and black pepper. Bring to a simmer, whisking frequently. Do not boil as that can cause the milk to separate and leave you with a grainy sauce.
- Turn off the heat. Stir in 1 ½ cups smoked cheddar and 1 ½ cups smoked Gouda until the cheese melts and becomes one cohesive mixture. Add the macaroni and brisket to the pot with the cheese sauce and stir to coat. If you prefer a stove-top mac and cheese, serve immediately. Otherwise, proceed to the next step.
- Pour half the mac and cheese into a greased 9-inch-by-13-inch baking dish or 12-inch cast-iron skillet. Layer half the remaining cheese on top. Pour the rest of the macaroni on the cheese layer and top with the last of the cheese. Sprinkle the browned panko crumbs on top.
- Bake until hot and bubbly, about 15-20 minutes. Enjoy!
Notes
- If making a stove-top version, fully cook the macaroni to package directions.
- For 3 cups of grated cheese, you'll need about 12 ounces of each cheese.
- Trim any excess fat from brisket.
- To bring the milk and cream to room temperature, simply let it sit out for 30 minutes. Otherwise, you can warm it in the microwave for about a minute.
- Store leftovers in an airtight container for three to four days. You can reheat in the microwave. Feel free to add a little additional milk or cream.
- Nutritional information is only an estimate. The accuracy of the nutritional information for any recipe on this site is not guaranteed.




Stephanie London says
This was so delicious. I smoked my own brisket and I did not have an unhappy face no one even a 15 month toddler
Wendy says
I made this tonight with my husband's delicious smoked brisket. I made modifications that elevated the dish: I sautéed onions and red pepper and added that in with the brisket. I used extra sharp cheddar and sharp marbled cheeses with pepper Jack (what I had on hand). I mixed everything in a Dutch oven and didn't bake it. I then topped with fried onions instead of panko. It was soooo delicious! A very rich, decadent dish. I will be making it again.
The Wellness Evolution says
Used regular cheddar instead of smoked. Needs more brisket! But this recipe is fantastic. Shared with co-workers and they loved it. Agreed more brisket but no complaints! What a great treat.
Amanda McGrory-Dixon says
Definitely easy enough to add more brisket! Glad it was a hit.
Matt’s Mom says
Delicious! Will definitely make again!!!
Amanda McGrory-Dixon says
So happy you loved it!
Karen says
Could I make this in a dutch oven?
Amanda McGrory-Dixon says
Sure, that’s totally fine. You can just leave it uncovered.
Debbie says
Hey, can this recipe be frozen?
Amanda McGrory-Dixon says
Hi, Debbie! I haven't frozen this particular mac and cheese, but I have frozen my smoked mac and cheese, which has similar proportions. It worked well, so I would think it'd be fine here too. It may have been slightly saucier baked fresh, but the frozen version was still very good.
Basically, I assembled the mac and cheese, allowed it to cool completely and then tightly covered it with plastic wrap and then a layer of heavy-duty aluminum foil. To thaw, I gave it a full 24 hours in the refrigerator, not just overnight. Two hours before cooking, I removed it from the refrigerator and took off the foil. You can then bake as directed, but plan for a little extra time. Since it's not going into the oven as hot, you might need another 10 minutes or so. I'd check it at the original baking time and then add more time if needed.
John Rogers says
I'm looking forward to making this dish for a dinner party with friends. Do you think I can get it ready to go in the oven and then wait until it's time to eat? It would probably be a couple of hours. Thanks.
Amanda McGrory-Dixon says
Hey, John! You can definitely assemble it a couple hours ahead of serving time and pop it in the oven when you're nearly ready to eat. For just a couple hours, it'll be fine at room temperature, but if you do refrigerate it, make sure you take it out an hour before baking to take the chill off. That will help with more even baking and protect a ceramic or glass dish from going to a cold to hot environment if you happen to use that type of dish. If it's refrigerated, you might also need to add an extra five to 10 minutes to the baking time.
John Rogers says
Thank you for the quick response. I'll let you know how it turns out.
Lauren Michael Harris says
I had a brisket mac and cheese dish like this at a BBQ restaurant recently and wanted to recreate it at home. This recipe was even better - a keeper for sure!!
Amanda McGrory-Dixon says
That's awesome to hear!